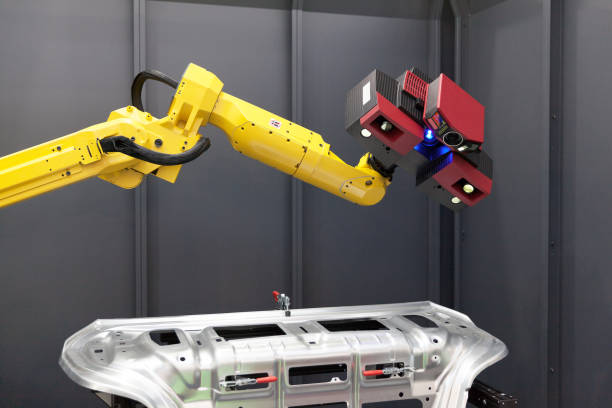
Our 3D scanning technology captures detailed measurements of objects, from tiny items like pinheads to large structures like factories. Without the limitations of traditional measurement methods, the possibilities with 3D digital data are endless. While we often use 3D scanning for reverse engineering and product inspection, it has many other applications too. Our skilled team can turn raw data into formats for design, documentation, visualization, and analysis.
3D Laser Scanning is a non-contact method that uses a laser to capture the shape of physical objects digitally. It creates “point clouds” of data from an object’s surface, allowing for an exact digital 3D representation.
Benefits

Measures fine details and complex shapes accurately.

Ideal for surfaces and geometries that need lots of data.

Faster and more precise than traditional methods.
Data Acquisition
An object is placed on the digitizer bed. A laser probe moves over the object, projecting a laser line while sensors record the distance and shape in three dimensions.
Resulting Data
The object’s shape appears as millions of points ("point cloud") on a computer. The process is fast and precise, capturing up to 750,000 points per second with an accuracy of ±.0005".
Modeling
The point cloud data is merged into a 3D representation and processed with software tailored to the application.

Inspection:
The scanned data can be compared to the original CAD design. Differences are shown in a "color map deviation report."

CAD Model:
The point cloud data can be used to create a precise 3D CAD model, allowing for accurate reproduction or modification of the object.

CMMs consist of a machine, measuring probe, and control system with software. A probe maps points on an object, which are then analyzed with modeling software for further development. At Forcyst, we provide top-notch CMM services.
